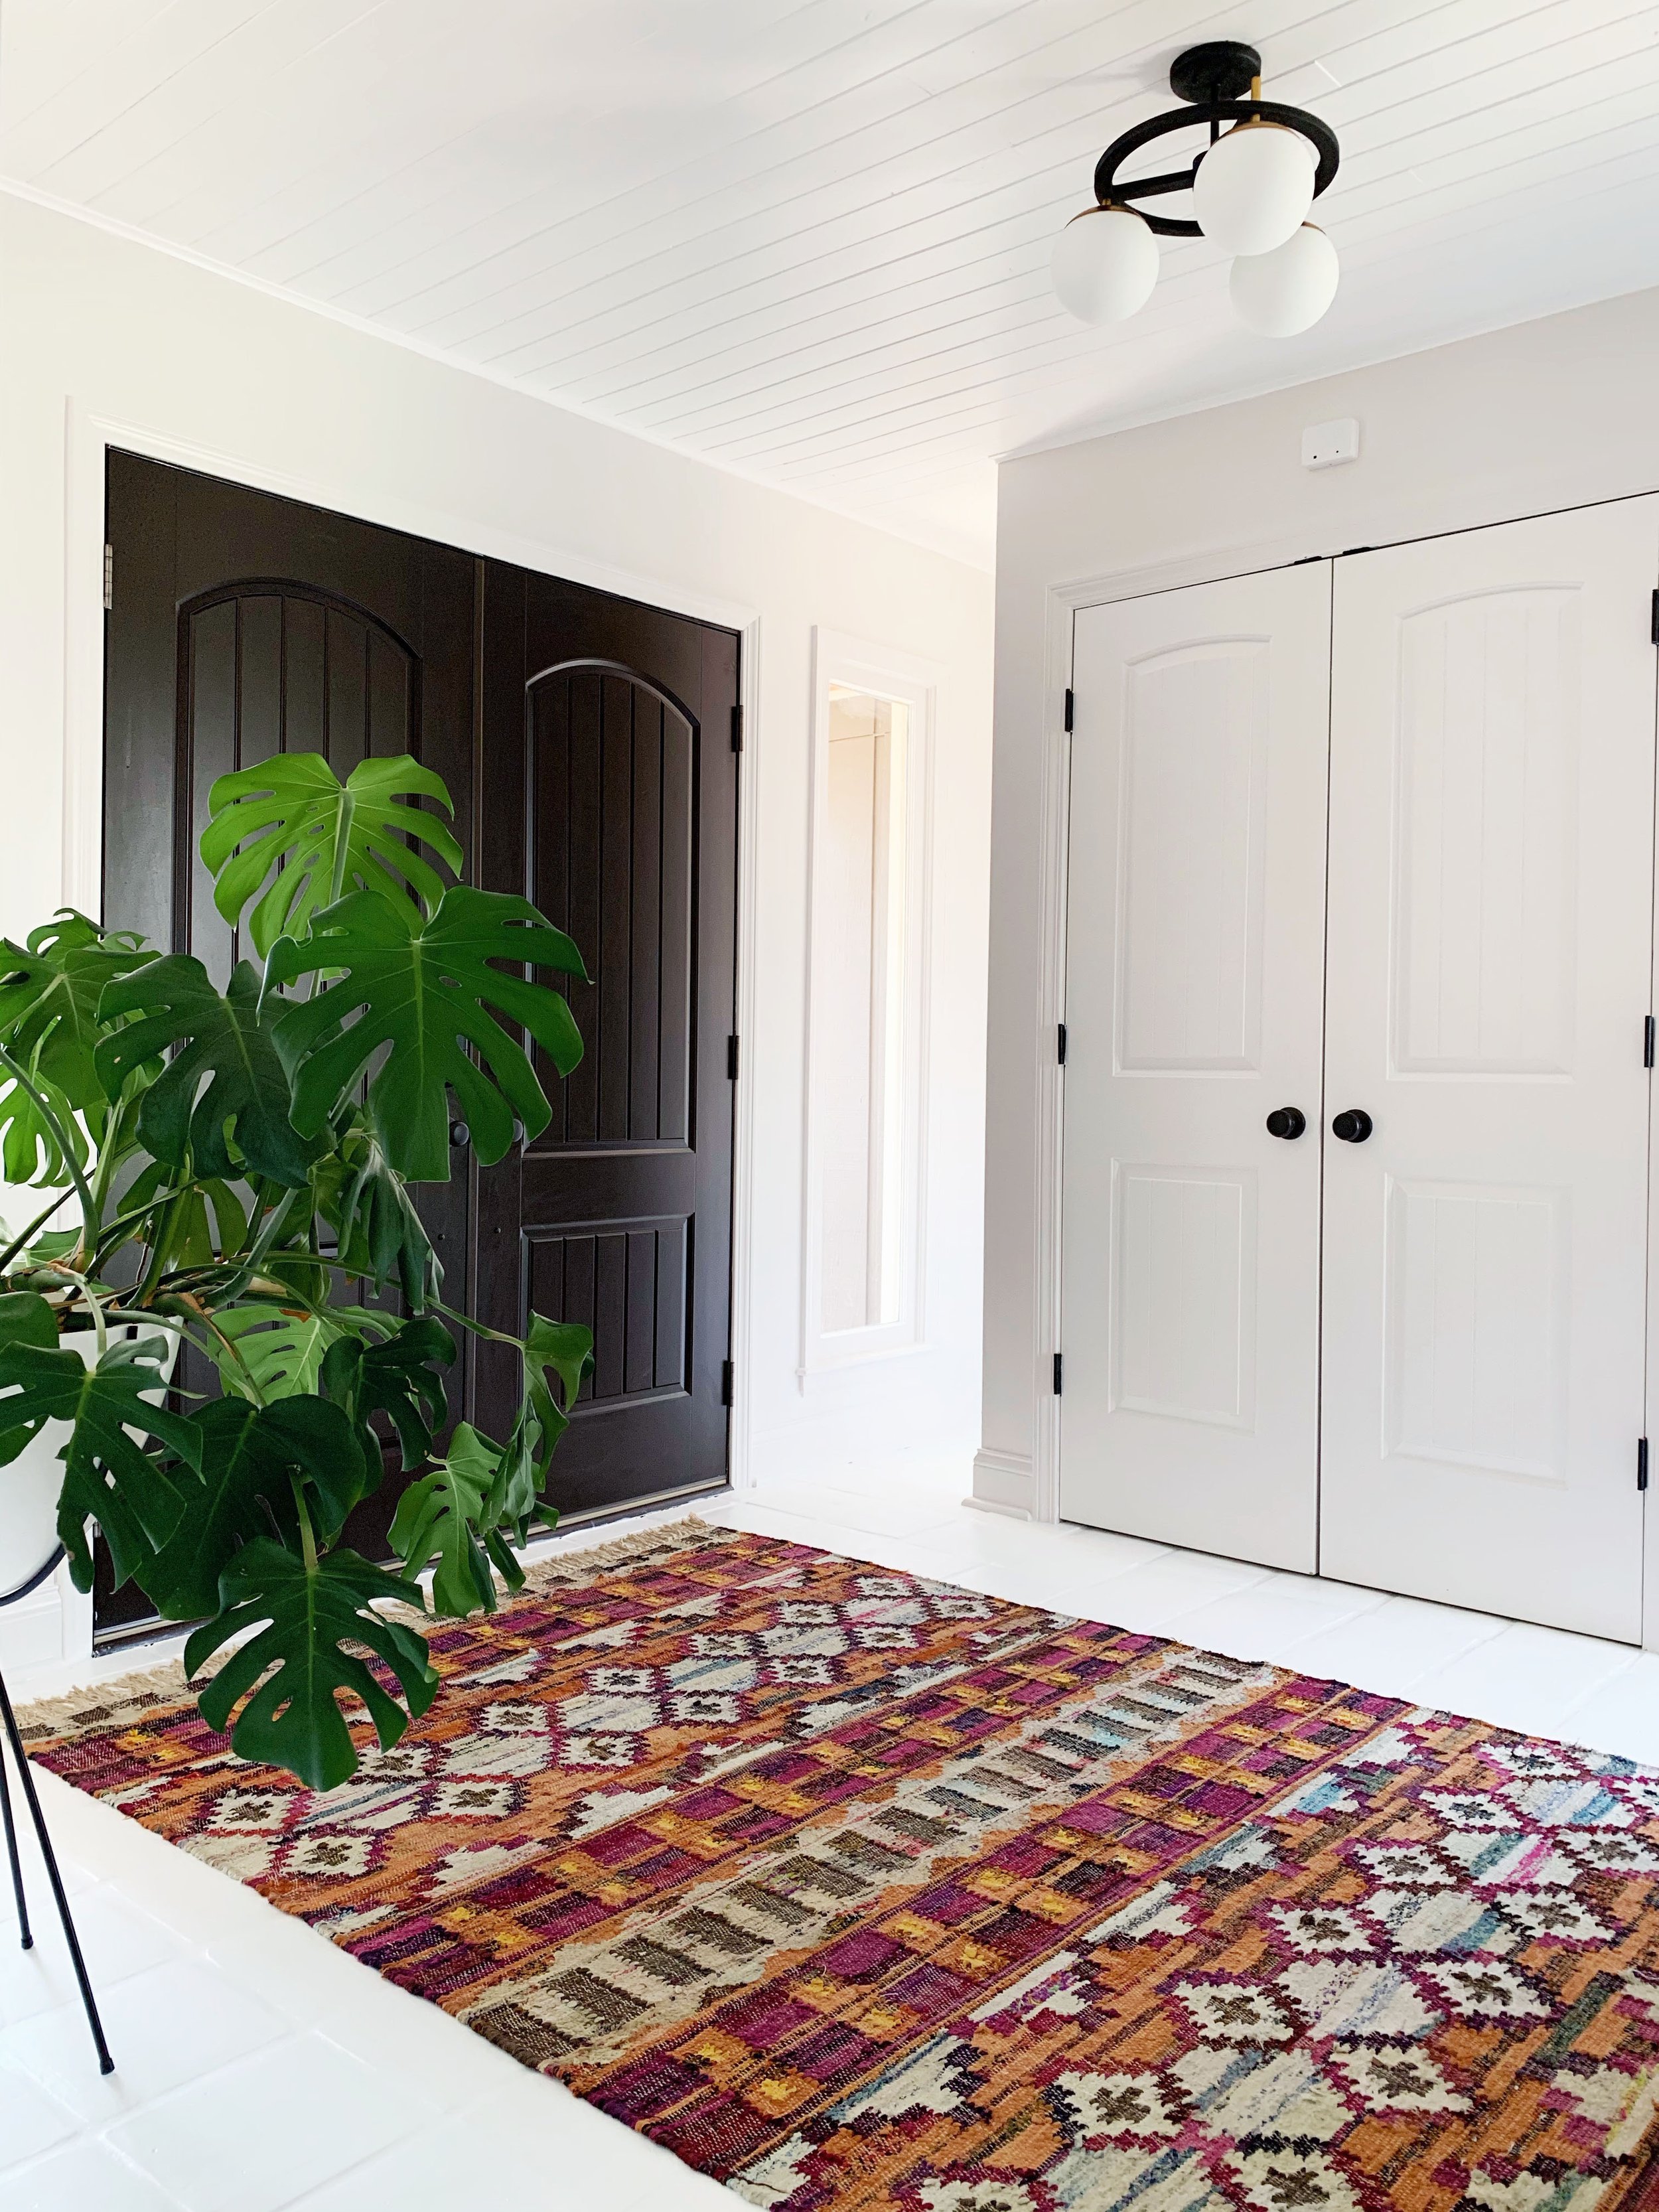
Entryway Makeover: DIY Painted Tile
It’s finally done. What started out as just wanting to paint the tile in my entryway has turned into:
*initially painting the tile a color I really wasn’t feeling
*then repainting it white
*then realizing the walls and trim looked dingy next to said white floors and repainting all of that
*to FINALLY, this beautiful bright oasis of an entryway.
Ha. Can you tell I love it? It’s nice to see hard work pay off. This room makes me smile every time I walk past it now.
Let’s start with the before…
Got a little tired of this worn out 70’s tile.
See that darker spot on the right against the stone wall? One of the previous owners had installed a fountain there that originally stood at the entrance to our neighborhood. Oh how I wish I had pictures of that!
Now while I absolutely love this 1970’s home and all of its original details and character but this floor was begging for some TLC. And that is exactly what it got.
Retiling wasn’t an option. I wanted a solution that was quickish and budget friendly.
Voila, enter the painted tile floor.
I had seen a lot of this going around. So after reading my fair share of tutorials, my mind was made.
I chose to go with the Rust-Oleum RockSolid Home Interior Floor Paint. My only issue with this product overall is the swatches are nothing like the color in the can.
Long story short: I initially chose the Aged Gray color, thinking it would be a charcoalish gray and I was not a fan once I saw that big dot of paint on top of the can after having it mixed. I ended up taking it back and having them try and adjust it.
I would really recommend sticking with white, black or something straight forward when it comes to this paint.
I ended up choosing white and couldn’t be happier!
Here was my process from start to finish…
First, before any paint touched the floor, I sanded it using an orbital sander with 180 grit sand paper. My advice is to give your tile a good sanding if it’s smooth because it will help your paint adhere better. If your tile has some texture, I would skip to the next step and call it good. Below you can see sanded on the left versus unsanded on the right.
Why yes, those are my finest DIY’ing shoes.
After sanding…
I then vacuumed up the dust, sprayed the floor down with Krud Kutter and wiped it clean. Don’t skip this step! I was amazed at what the Krud Kutter cleaned off the tile. The grime! I also steam mopped after that to get a super clean starting point but that’s not necessary.
Next up is taping.
Had I known I would end up repainting all of the trim later, I would have skipped a lot of taping.
Now for the paint!
I used this trim brush and a paint roller. I found that the roller alone didn’t get great coverage in the grout lines so I used the brush and then went back over the same area with the roller to even everything out. You’ll also want to use your brush around all of the trim and doors and then follow up with your roller. I would highly recommend using an extension pole attached to your paint roller. It saved me so much time, not to mention back pain.
The directions recommended working in 4x4 sections and I found that worked best. Otherwise, trying to work really big sections at a time led to the paint drying before I could even out some areas.
Dry Time
I painted my way out of the room and used a fan to help dry the floors but also for some ventilation. The smell is pretty strong.
After 2 hours, you can either apply touch ups or a second coat. A second coat is only required with white. I ended up doing 3 coats of the white because I felt it needed it. With the gray, I just needed some touch ups.
The dry time recommendation is to wait 6 hours before you apply the top coat after your base coat (color) is done. I waited overnight and I definitely think the longer you can wait in between coats the better, otherwise your floors will stay tacky and take even longer to dry in the end. Imagine putting a topcoat on your nail polish before it’s fully dry.
Dry baby, dry.
Top Coat
This particular paint is a 2 step system so the top coat is required to seal it in and make it last. I chose the matte top coat and love it. The top coat is thin and kind of milky, it’s a breeze to apply and goes on really quickly. I did use my trim brush to make sure the edges near the base boards and doors were sealed well.
The really important part:
Let the floors cure and stay off of them as much as possible. Light foot traffic is okay after 24 hours but it takes 7 days for the paint to completely cure. I stayed off mine for 7 days and haven’t had any scratches.
The Final Look
One more satisfying before & after.


The Final Verdict
I couldn’t be happier with the white, the durability, all of it. If you are considering painting your tile, I think it’s a great way to update in lieu of retiling. Before diving in, make sure you can really stay off that area to allow it to cure for the full 7 days. And as always, choose your paint colors wisely my friends!
Best,


